Term 1 Projects
Smiley Face Challenge
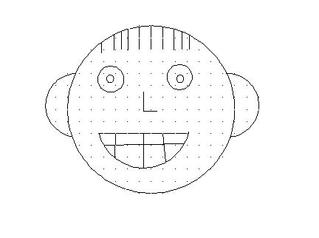
This project was the first one of the year. Mr. Ramos told us to just explore the program and try to create a smiley face. For this project there was no prior knowledge or research because it was used to have us find out what we knew. For this project we were given one day to design a Smiley face in any way possible. During this project I used multiple tools from the AutoCAD software. I used the arc tool, circle tool, and line tool. For this project I did not receive much feedback because we were learning how to use the software and Mr. Ramos wanted us to explore on our own. During this assignment I learned that I did not know much about the CADD software and had a lot to learn this year. In the future if I did this project again I would use more aspects of the CADD software to produce a better project because now I have more knowledge of the AutoCAD LT software.
My CADD Alphabet

In this project our challenge was to draft the alphabet, making each letter 5 inches high and 3 inches wide. Before we could begin the project Mr. Ramos taught us how to use the arc and line tools in CADD. I used my prior knowledge from the Smiley face project and the tools I have learned. The first thing I did in this project was I created 26 rectangles 5 inches high and 3 inches wide. Next I created each individual letter using the line, arc, and circle tools. I also used the trim tool to get rid of the lines I did not need and got rid of the rectangles I had created in the beginning. Finally I dimensioned each letter to make sure they fit the requirements. The final product was a complete alphabet that all had the exact same demensions. During this project there were certain letters that were more difficult to complete; R, S, B. When creating these lettters I used feedback from Mr. Ramos to finally produce succesful letters. During this project I learned how to use the trim tool and how to dimension objects. If I redid this project I would change how I made my letter B and my letter S due to my knowledge of different tools.
MY CADD NUMBERS
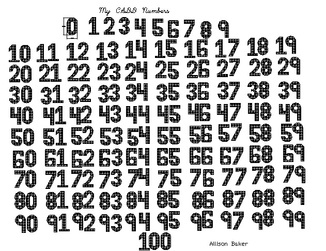
For this challenge we had to create the numbers 0-100 on CADD. To do this project we used the tools that Mr. Ramos had taught us during the past assignments. The first thing I did to start this project was I created the numbers 0-9. I made sure they all had the correct dimensions in order to meet the project requirements. Next, instead of creating a new number everytime I needed one of the numbers, I used the copy tool in CADD. Then I used the move tool in CADD to arrange the numbers in order. My final product had all numbers 0-100 and they had a hatch pattern in each one. During this project Mr. Ramos taught us how to use the hatch tool which furthered our project. This project taught me how to use the hatch, copy, and move tools. If I was to do this again I would make guide lines to make sure my numbers were in a line and organized for my final project.
My CADD American Flag
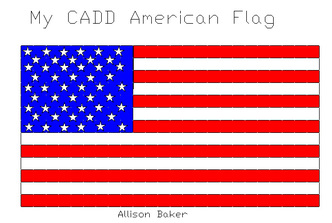
The assignment for this project was to accurately replicate the American Flag on the CADD software. Before we could begin this project Mr. Ramos went over all the different line tools we would need to use for this project. We also had to observe the flag that was in our classroom and make sure we were going to have all the aspects of the flag in our design. The first step in this project was I made a rectangular box that was the dimensions of the flag. Then I made a square using the polygon tool for the stars to go inside. Next I divided up the rest of the flag into 13 stripes. Mr. Ramos then taught the class how to create a pattern with the stars that would gaurantee that the stars would all be the same size and in the same pattern. The last thing I did was used the hatch tool to color the blue background and the red stripes. My final product was a replica of the American Flag on the CADD software. During this project I recieved feedback from Mr. Ramos. This feedback helped me create the stars portion of the flag. During this assignment I learned how to create patterns and how to hatch in color. I also learned how to make the hatched color only behind the stars and not fill in the stars with blue. If I was to do this project again I would make more equal spacing between the stars.
